Table of Contents
ToggleStorm windows take a beating. They’re the buffer between your home and harsh weather, rain, snow, wind, and temperature swings, so they wear out faster than most homeowners expect. Whether you’re noticing drafts around the frames, condensation trapped between panes, or visible damage to the glass or glazing compound, it’s time to consider storm window replacement. Upgrading your storm windows isn’t just about aesthetics: it’s a practical upgrade that boosts energy efficiency, improves comfort, and prevents water damage to your primary windows and sills. This guide walks you through when to replace, why it matters, and how to pick the right option for your home in 2026.
Key Takeaways
- Storm window replacement addresses critical signs like visible cracks, failed seals, condensation between panes, air leaks, and frame damage that typically appear after 15–20 years of use.
- Modern storm windows reduce heating and cooling costs by 10–15%, improve sound dampening, prevent water damage, and eliminate the need for frequent glass replacement or maintenance.
- Choose between repair for minor issues, replace-in-kind for historic homes, or upgrade to affordable vinyl or composite frames that require zero maintenance and last 20+ years.
- Proper installation requires accurate measurements, level and square framing, exterior caulking (except at the bottom for drainage), and takes 1–3 hours per window for standard units.
- Annual caulk inspections, twice-yearly glass cleaning, and hardware checks are simple maintenance tasks that extend the lifespan and performance of your storm windows significantly.
When To Replace Your Storm Windows
Signs Your Storm Windows Need Replacement
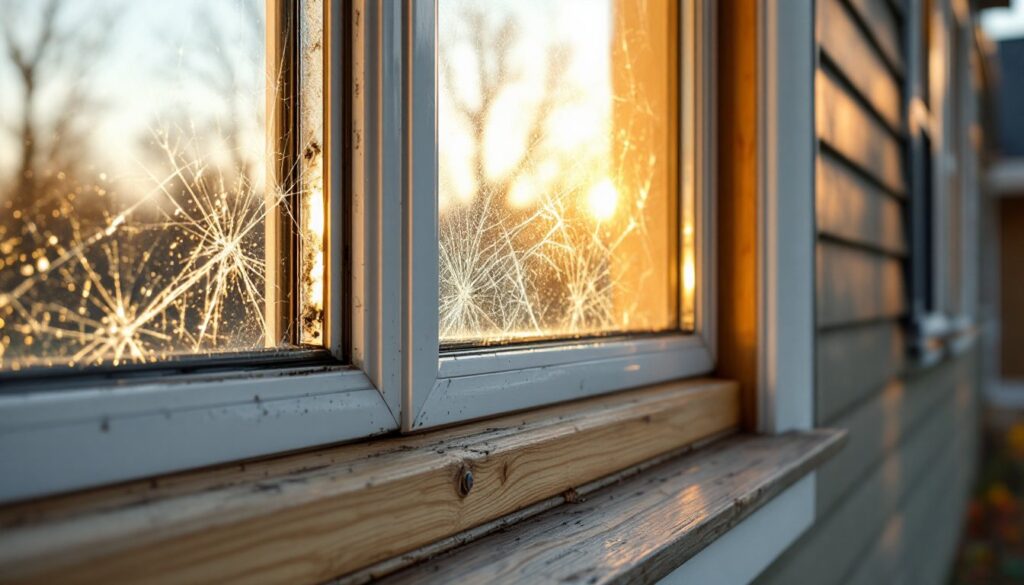
Your storm windows send clear signals when they’re nearing the end of their useful life. Visible cracks or breaks in the glass are the most obvious red flag, they defeat the entire purpose of storm protection. If you notice broken glazing compound (the putty-like material holding glass into the frame), moisture will seep in, leading to rust on metal frames and rot on wooden ones.
Condensation between the inner and outer panes indicates the seal has failed, and the insulating air layer is compromised. You can’t clean it out, and it won’t improve with time. Difficulty opening or closing the frame, whether your storms are hinged, sliding, or removable, suggests warping, corrosion, or frame damage. If you have to force them shut or they won’t stay put, they’re no longer functioning properly.
Air leaks and drafts are harder to spot but easy to feel. Hold a lit candle or incense stick near the storm window frame on a breezy day: if the smoke wavers or gets blown sideways, air is escaping. Visible rust on metal frames or soft, spongy wood on wooden frames means structural deterioration is underway. These conditions typically appear after 15–20 years of use, depending on climate and maintenance.
If your home has older, single-pane wood-frame storms, they’ve likely seen better days. Modern storms offer better sealing, better materials, and often built-in features like low-E coatings (low-emissivity glass that reflects heat) that older models don’t have.
Benefits Of Upgrading To New Storm Windows
Replacing worn storm windows pays dividends in comfort and utility bills. Energy efficiency is the headline benefit. Modern storm windows with argon gas fills and low-E coatings reduce heat loss in winter and block solar heat gain in summer. Homeowners report 10–15% cuts in heating and cooling costs, especially in colder climates where storm windows provide the most value.
Improved sound dampening is a bonus many don’t expect. The air gap and dual panes muffle outside noise, traffic, sirens, neighbors, making your home noticeably quieter. Better weather protection means fewer leaks during heavy rain or driving snow. New seals and proper frame construction prevent water from pooling on sills or running down walls.
Storm window glass replacement becomes unnecessary for years when you upgrade to quality new units. Tempered or laminated glass options add durability and safety: laminated glass holds together if broken, reducing injury risk and unwanted entry. Low-maintenance frames in vinyl or aluminum eliminate the need to repaint or re-glaze every few years, just occasional cleaning keeps them looking new.
There’s also the resale appeal. Buyers see storm windows as a sign that a home has been maintained and protected from the elements. It’s not a huge value-add, but it removes a potential red flag during inspections. Functionally sound storm windows show a homeowner who cares about the envelope integrity.
Choosing Between Replacement Options
Three main paths exist: repair, replace-in-kind, or upgrade to modern units.
Repair only works for minor issues, replacing a single broken pane of glass, reglazing a wooden frame, or resealing a slightly leaky corner. If the frame is sound and the seal is mostly intact, it’s the cheapest option. A single storm window glass replacement can cost $50–$150 per pane, versus $200–$600+ for a full new window.
Replace-in-kind means buying the same style and material as your originals. This preserves architectural consistency on historic or period homes. Wooden-frame storms, for example, feel period-appropriate on older houses. But wooden frames require maintenance, annual caulking and periodic repainting, and they’re pricier than vinyl alternatives. Metal-frame storms are durable and lightweight, though they conduct heat and can develop condensation in cold climates.
Upgrade to modern vinyl or composite frames is the most popular choice for typical homes. Vinyl storm windows are affordable ($300–$600 per window), require zero maintenance, and come in white, tan, and sometimes custom colors. They don’t rot, rust, or need paint. Composite or hybrid frames blend wood aesthetics with vinyl durability and cost more ($400–$800+) but appeal to homeowners wanting a traditional look without upkeep.
Consider double-hung vs. single-hung design. Double-hung allows both sashes to slide, offering flexibility in ventilation but adding complexity. Single-hung lowers cost and reduces moving parts. Interchangeable sash frames let you remove upper or lower panes for easier cleaning, a convenience feature worth the extra $30–$50 per window if your storm windows are hard to access.
Don’t overlook combination storm/screen units that swap out with seasons. They’re more convenient than storing separate screens and provide year-round functionality in a single frame.
Installation Process And What To Expect
Most homeowners can handle replaceable storm windows: fixed units or complex installations are jobs for a professional.
For removable or interchangeable units: Start by measuring the opening accurately, width at top, middle, and bottom: height at left, center, and right. Window openings are rarely perfect rectangles. Order units to fit snugly but not forced. Remove the old storm by unlatching the frame or unscrewing it from the exterior trim. Clean the sill and frame cavity of debris, old caulk, and paint flakes.
Set the new storm into the opening and secure it with the manufacturer’s fasteners, typically corrosion-resistant screws or clips. Ensure the frame sits square and level (use a 2-foot level) before tightening fully. Apply paintable acrylic caulk (not silicone) around the exterior perimeter where the frame meets the house trim, filling gaps and preventing water entry. Don’t caulk the bottom: it needs drainage. Let caulk cure per label instructions, typically 24 hours, before exposing it to rain.
For exterior replacement storms (fixed to the house frame): You’ll likely need help. Remove the old window entirely, which may involve prying out fasteners, cutting caulk, and sometimes removing exterior trim. Inspect the sill and frame for rot: if wood is soft, it needs replacement before installing a new storm. Set the new frame into the opening, shim it level and square, and fasten it per the manufacturer’s specs. Caulk and paint.
Tools you’ll need: A tape measure, carpenter’s level, a caulk gun, a utility knife, a cordless drill or driver, and a pry bar or old chisel for removing old caulk. Wear safety glasses when removing glass and work gloves for handling broken frames or sharp edges. If the old storm contains lead paint (common before 1978), follow EPA containment protocols or hire a licensed abatement contractor, don’t disturb it.
Expect 1–3 hours per window for removal and installation of standard units. Complex or multi-unit jobs, weather delays, or frame repairs can extend timelines.
Maintenance Tips For Long-Lasting Storm Windows
New storm windows don’t demand much, but routine care extends their lifespan significantly.
Clean glass twice yearly, spring and fall, with a soft brush and mild soap and water. Avoid abrasive scrubbers or harsh chemicals that can scratch coatings. Remove leaves and debris from sills and weep holes (small drainage openings at the frame base) to prevent water pooling and staining.
Check caulking annually for cracks or peeling, especially after winter. Failed caulk lets water in and defeats the seal’s purpose. Scrape out old caulk with a utility knife, clean the joint, and reapply paintable acrylic caulk. This $5 repair now prevents a $500 water damage repair later.
Inspect hardware, latches, hinges, and locks, for corrosion or stickiness. A little silicone lubricant spray keeps them moving smoothly. For vinyl frames: a wipe-down with soapy water is all they need. No paint, no wood sealer. For composite or wood frames: if painted, look for chips or peeling after a few years and touch up with matching exterior paint to protect against weather.
Test the seal every couple of years by holding a lit candle near the frame on a windy day. If smoke gets blown around, the seal is compromised and may need professional resealing or, if the frame is old, replacement. This is especially true if you see persistent interior condensation on your primary windows.
Before winter, ensure all fasteners are snug and latches are functioning. A properly secured and sealed storm window won’t rattle or leak during storms.
Conclusion
Storm window replacement is a practical investment that pays back through lower energy bills, quieter living spaces, and reduced maintenance headaches. Recognize the signs, cracks, failed seals, air leaks, frame damage, and address them before they compromise your home’s weather envelope. Choose the replacement option that fits your home’s age, architectural style, and budget, then install it correctly or hire a professional if the job requires it. Keep your storm windows clean and caulked, and they’ll protect your primary windows and home for 20+ years with minimal fuss.